Load Speakup Article Player through Google Ad Manager
Step 1: Create new Ad Unit
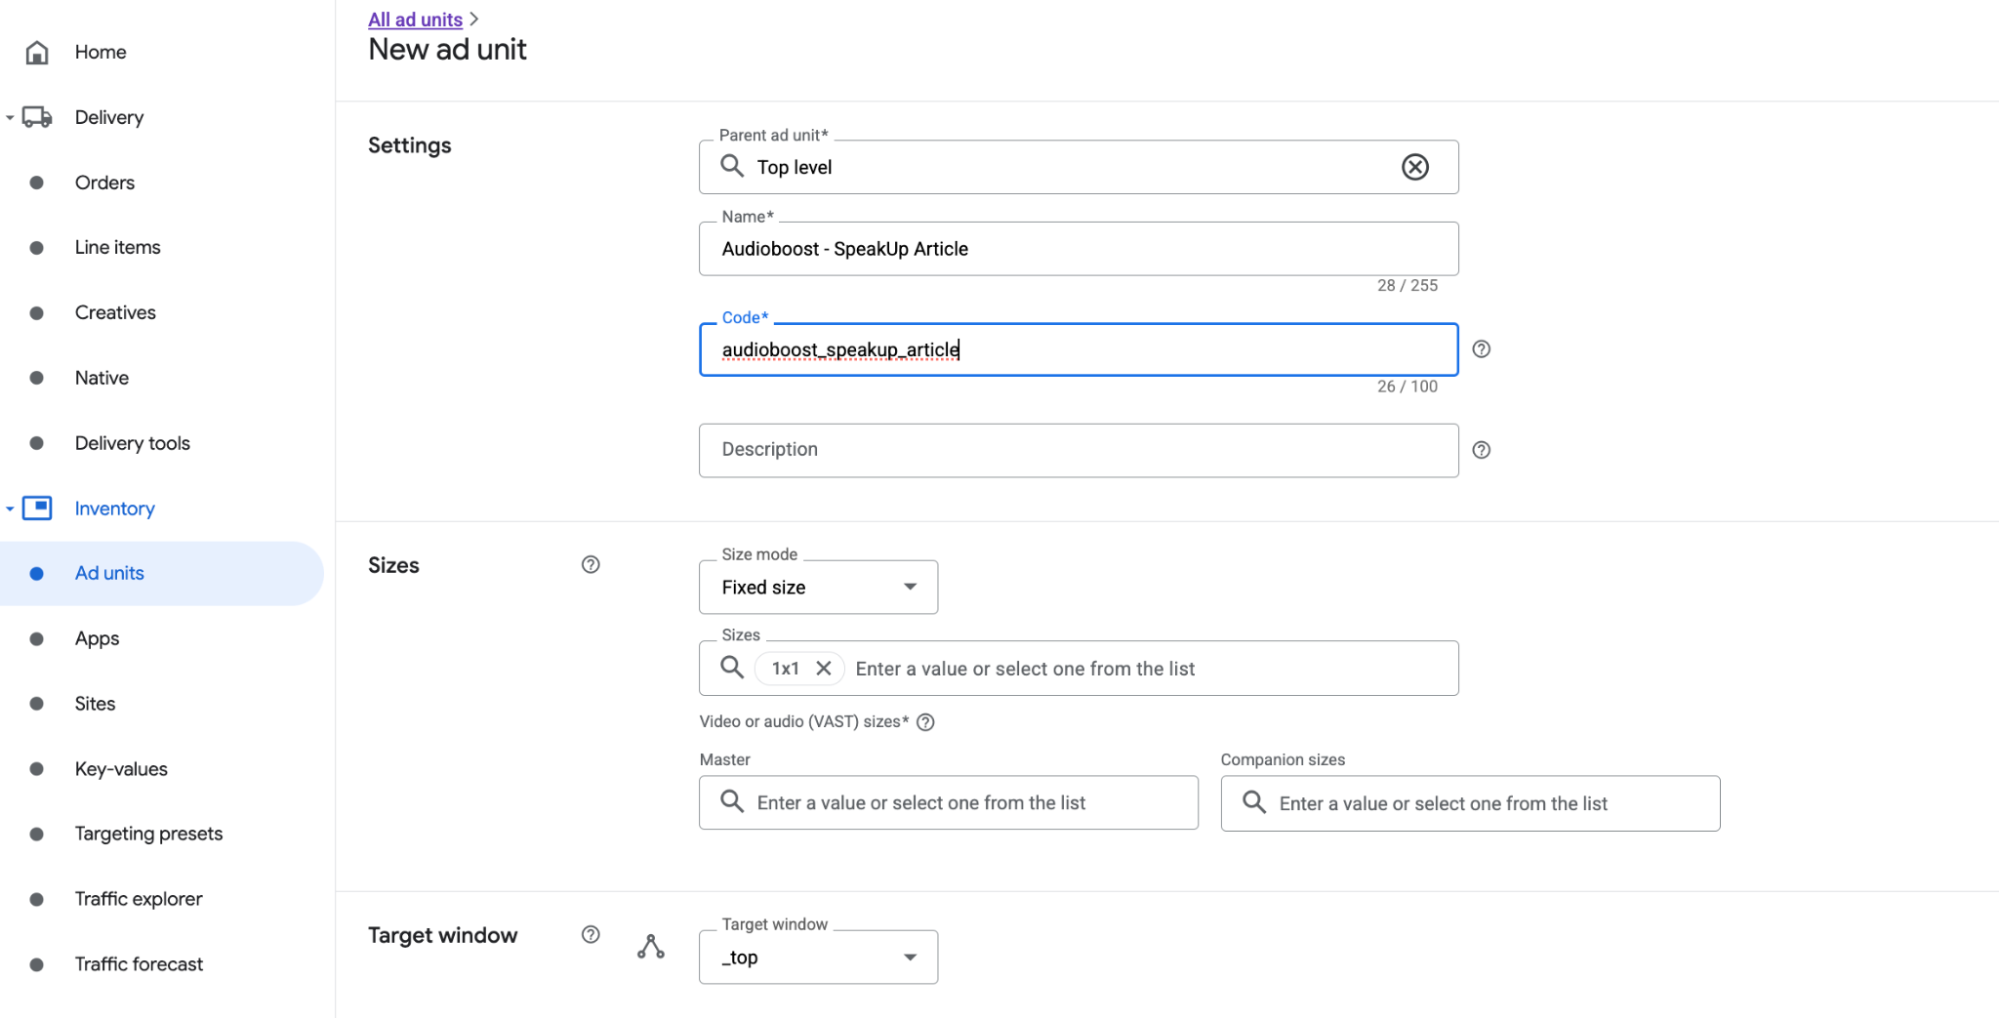
Create a new ad unit from Inventory > Ad units section. Choose “Fixed size” and “1x1” in Sizes.
Note: this Ad Unit must only deliver the SpeakUp Article. Its container div must be placed between the title and the beginning of the body article.
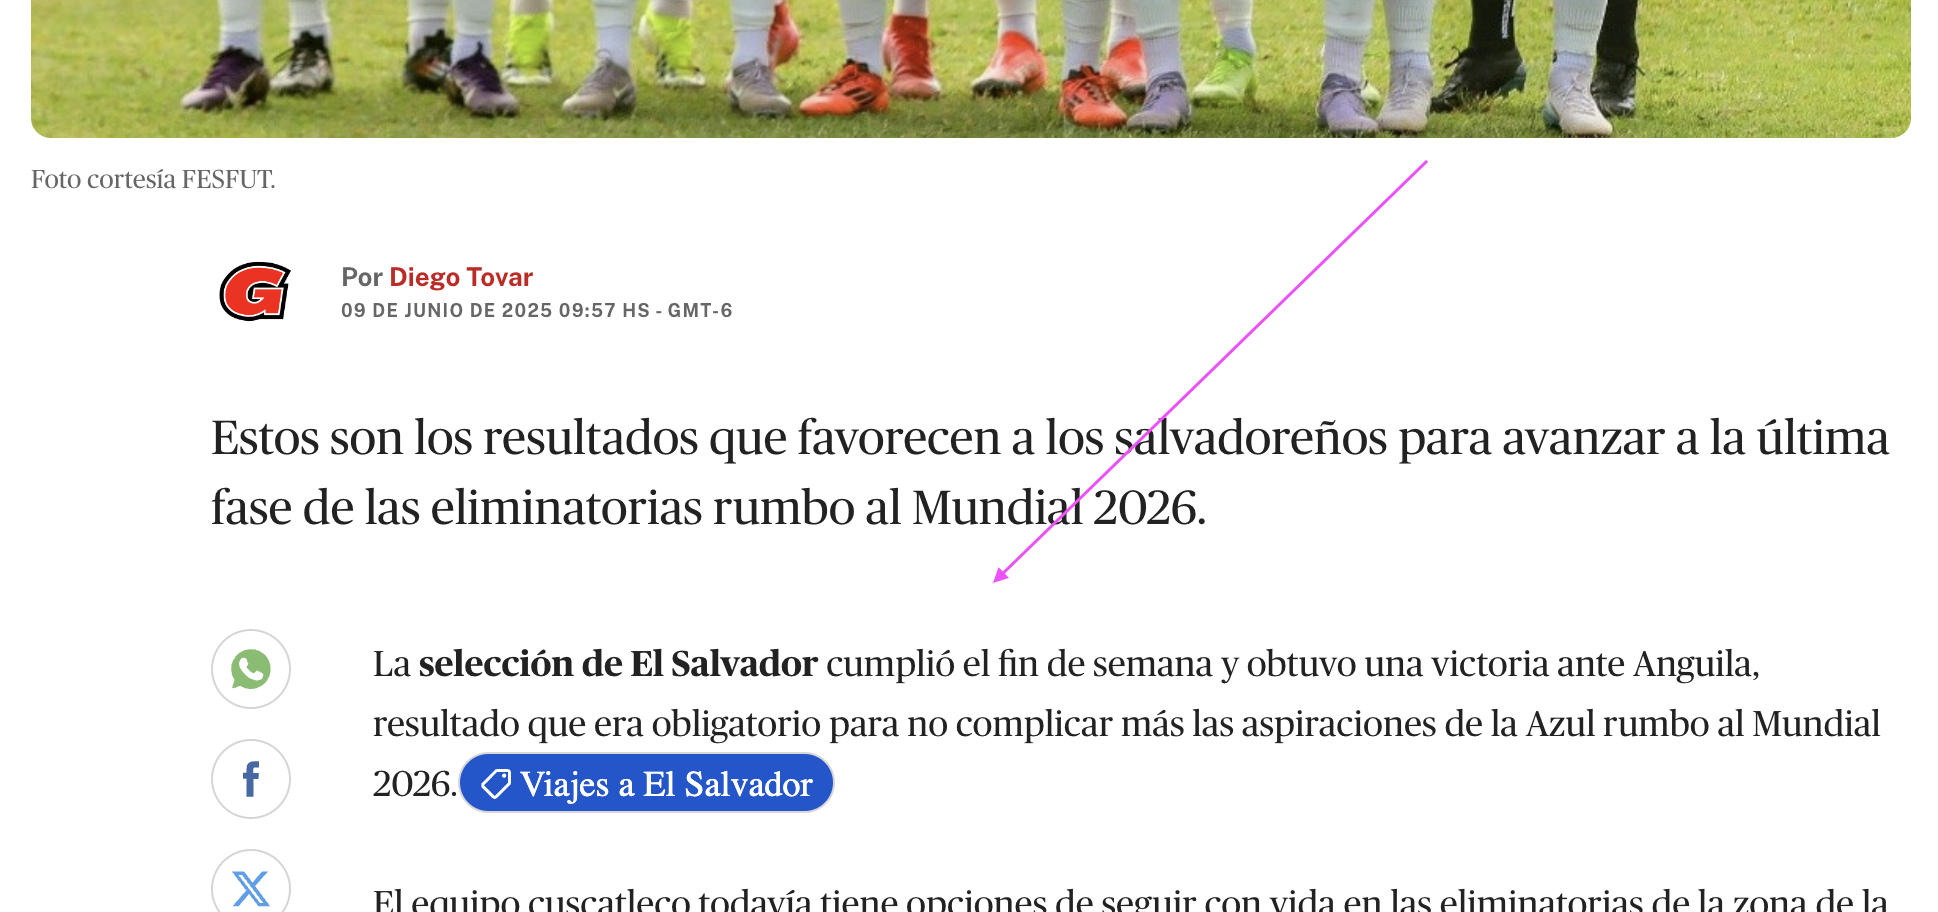
Positioning example:
Step 2: Create new Ad Network
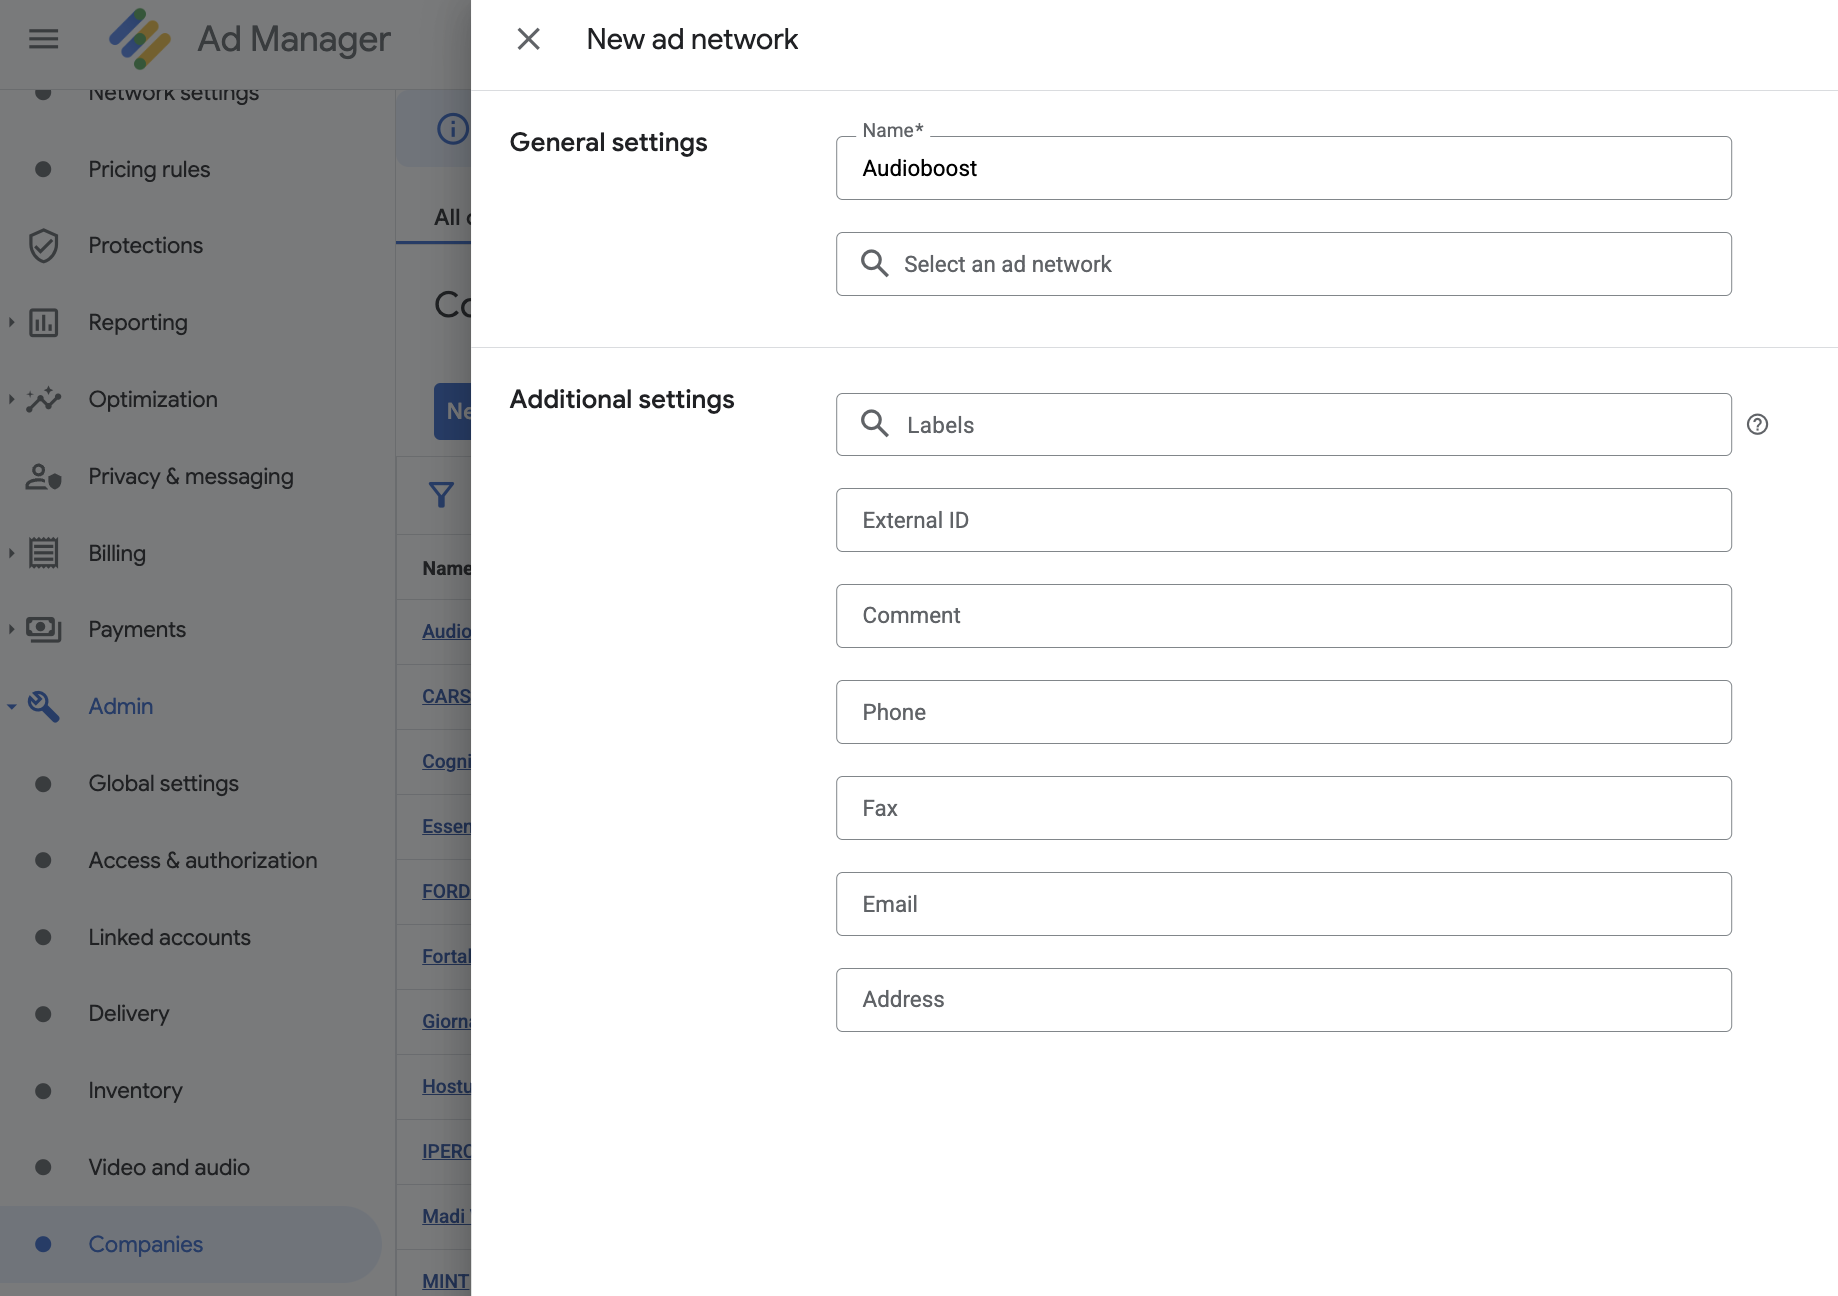
Create a new Ad Network item for Audioboost from the Admin > Companies section.
Step 3: Create new Order
Create a new Order "Audioboost" by Delivery > Order, and approve this Order before using.
Step 4: Create new Line Item
Create a new Line Item under Audioboost Order.
-
Choose the ad type:
Display -
Choose the line item type:
Sponsorship (4)(this ensures that the Speakup Article is always shown) -
Set the size of expected creatives:
1x1 -
Set the delivery settings:
- Start Time: Immediately
- End time: Unlimited
- Goal: 100% of total impressions
- Rate: $0 USD (or any conventional value)
-
Set the Add targeting
- Inventory: Select the Ad Unit with the 1x1 size (from Step 1)
Step 5: Pause Line Item and create new Creative
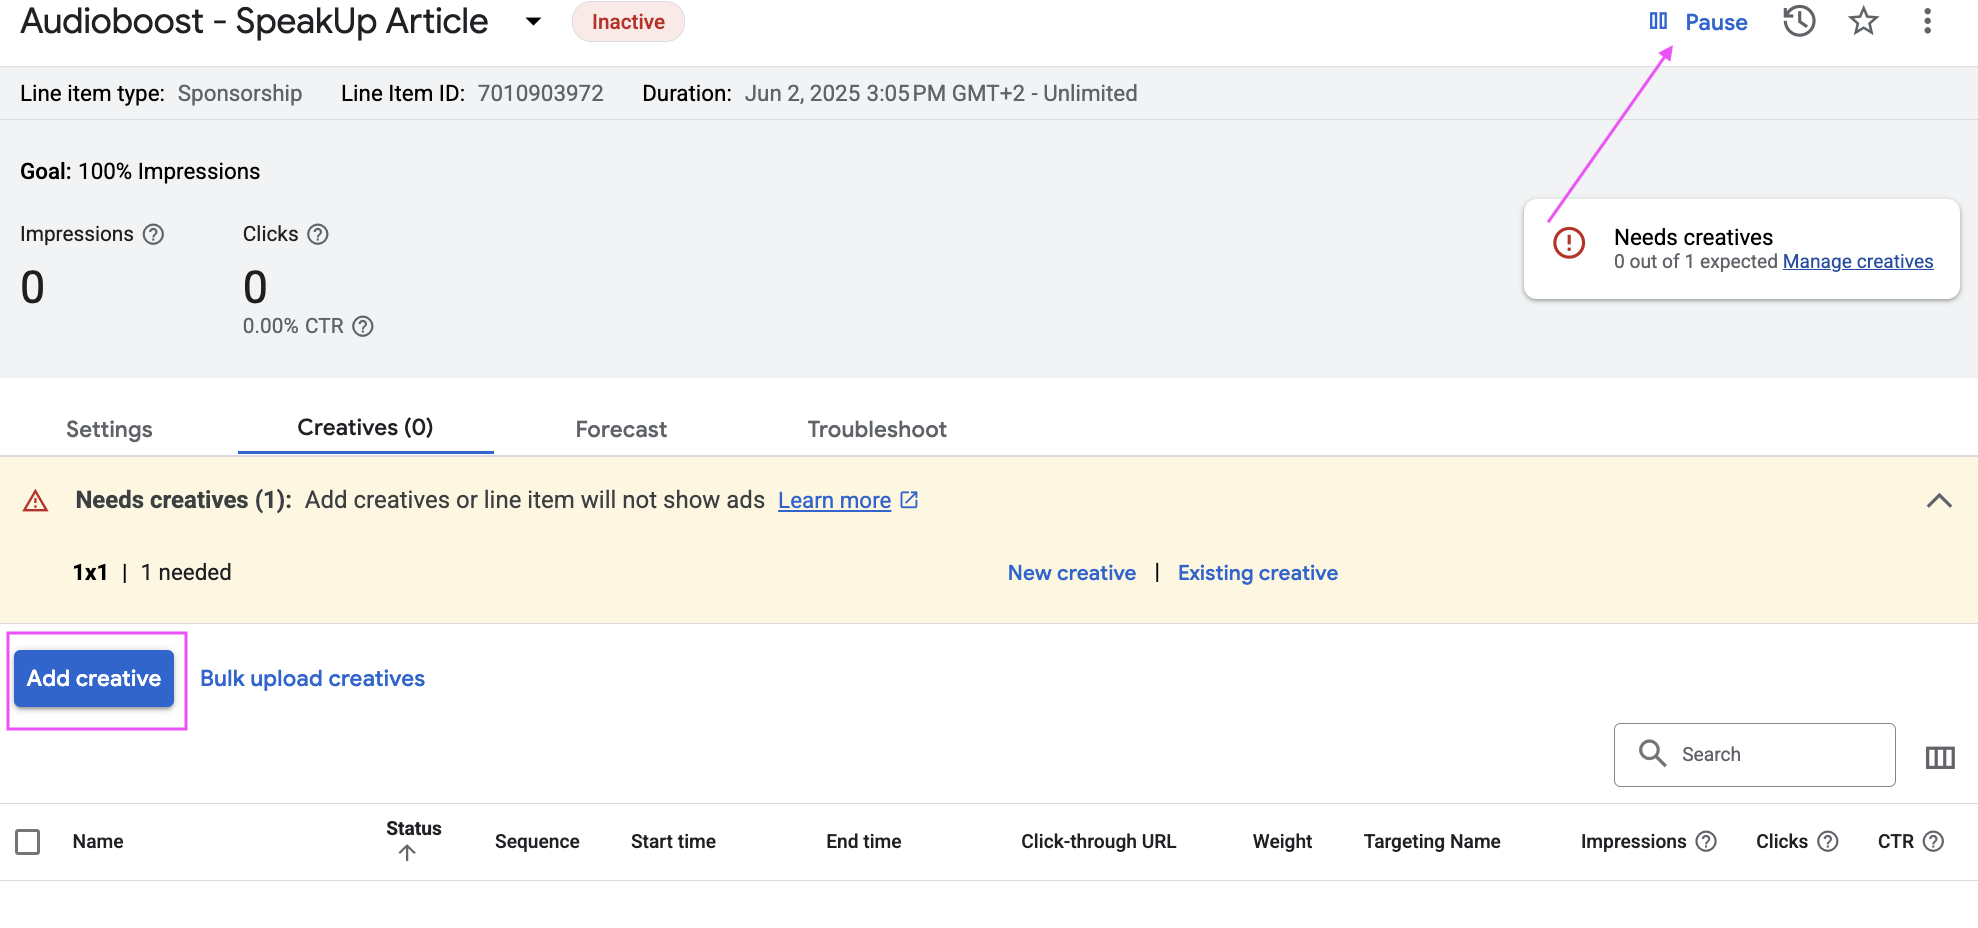
Please pause the line item before finishing all the testing steps.
- Create new Creative under the Line Item from step 4.
- Then, click on
“Add creative”and select“New creative” > “1x1”
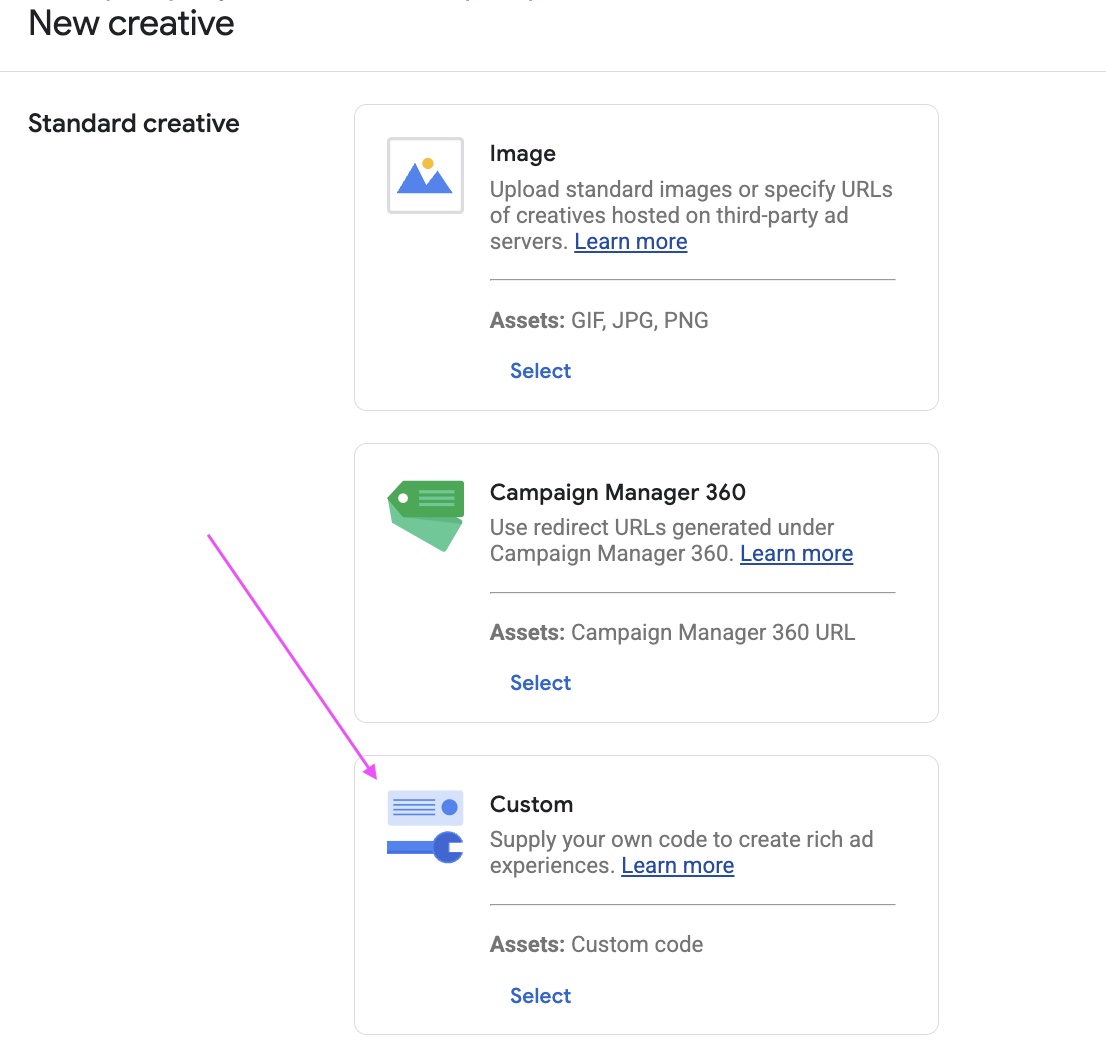
- Choose “Custom” in “New creative” page.
- Insert the creative’s name (e.g., “SpeakUp Player - 1x1”)
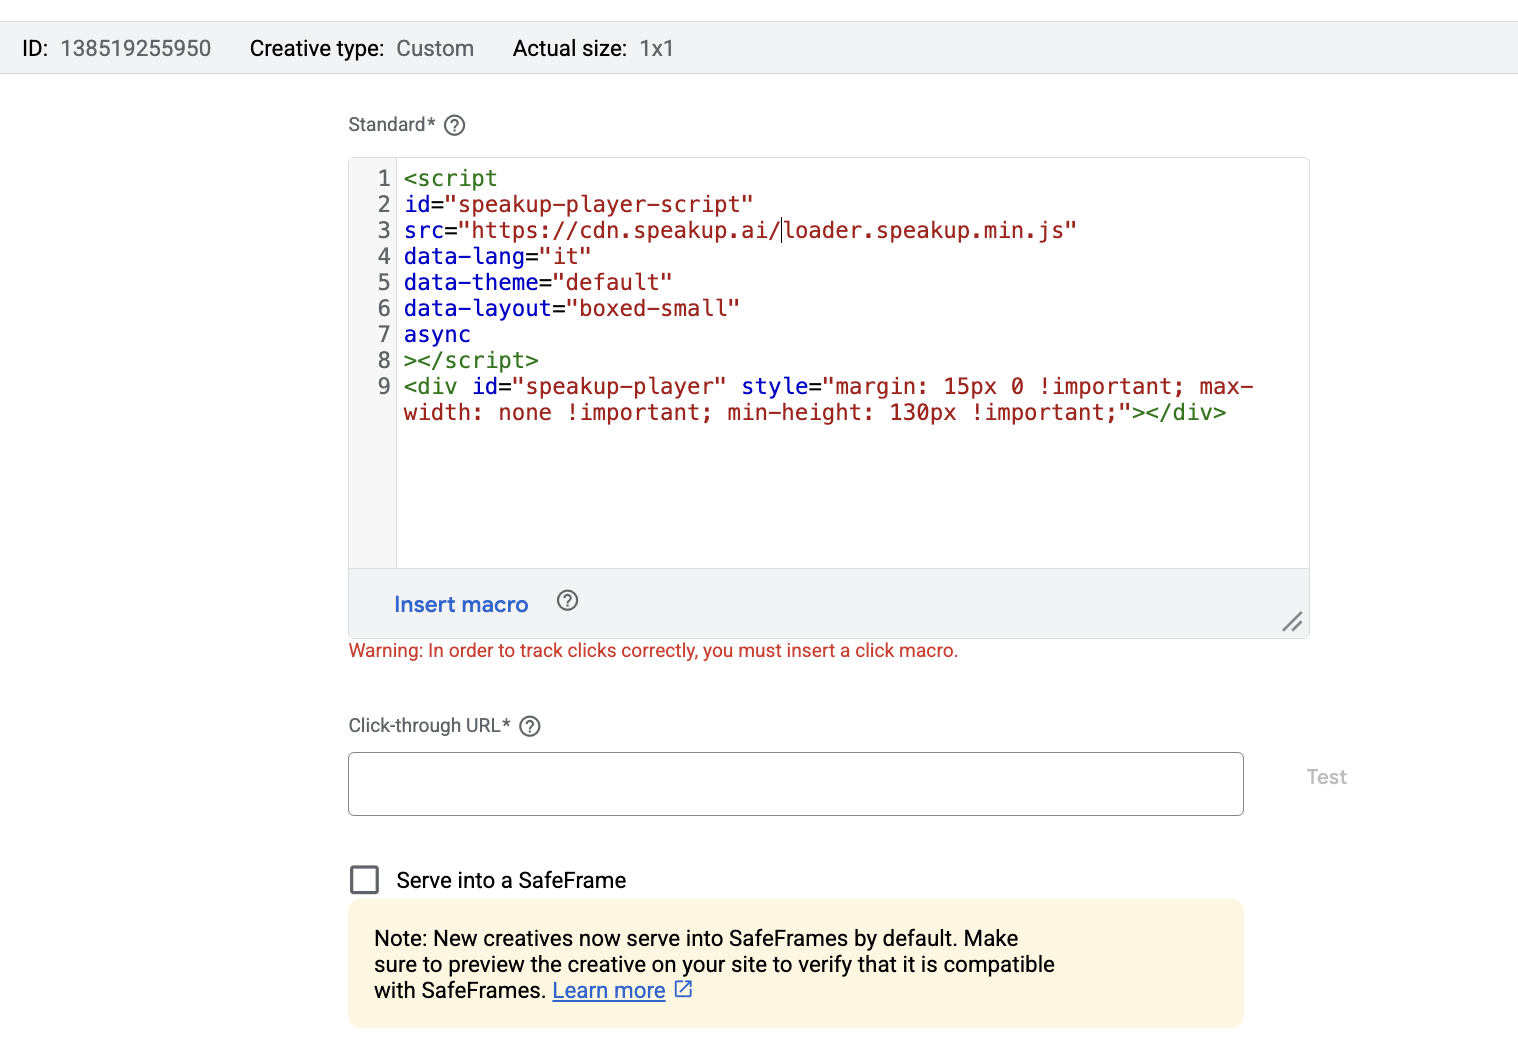
- Choose code type “Standard”
- Copy and paste the script below into the Standard text area and choose the language (available languages can be found here)
<script
	id="speakup-player-script"
	src="https://cdn.speakup.ai/loader.speakup.min.js"
	data-lang="it"
	data-theme="default"
	data-layout="boxed-small"
	async
></script>
<div
	id="speakup-player"
	style="margin: 15px 0 !important; max-width: none !important; min-height: 130px !important;"
></div>
Player can be customized by following the options available in the Customization options section of direct integration.
- Make sure the checkbox
“Serve into a SafeFrame”is disabled
Step 6: Preview
Create a preview page for us:
- Click Preview
- Choose: On Site
- Paste the live page URL that has the correct 1x1 Ad Unit in it
- Choose: Show preview URL
- Copy the URL and send it to us for checking.
Step 7: Go live!
Go back to the line item and click “Resume” once your Audioboost Publisher Manager tells you we are ready to start.